Day-17:Docker Project for DevOps Engineers
Welcome to Day 17 of the 90 Days of DevOps Challenge! Today, we're going to dive into the fascinating world of Docker and containerization.


Table of contents
Introduction
Welcome back to the 90 Days of DevOps Challenge! Today, we're diving into a crucial aspect of modern software development - Dockerizing your Flask web application. Docker makes it incredibly easy to package your application and its dependencies into a portable container, ensuring consistency across different environments.
In this blog post, I'll walk you through the steps to create a Docker image for your Flask app and push it to Docker Hub
Concepts
Before we dive into the Dockerfile and the dockerization process, let's clarify some concepts:
Docker: Docker is a containerization platform that enables you to create and manage containers. Containers are lightweight, portable, and isolated environments that contain everything needed to run an application.
Flask: Flask is a micro web framework for Python. It's minimalistic and easy to use, making it an excellent choice for building web applications.
Dockerfile: A Dockerfile is a text file that contains instructions for building a Docker image. It specifies the base image, adds application code, and sets configuration options.
requirements.txt: This file lists the Python packages and their versions required for your application. Docker will use this file to install the necessary dependencies in the container.
Dockerized Flask Web Application
Let's start by working on your Flask web application and Dockerizing it.
- Let's create a Dockerfile
# Use an official Python runtime as a parent image
FROM python:3.9-slim

# Set the working directory to /app
WORKDIR /app

# Copy the current directory contents into the container at /app
COPY . /app

# Install any needed packages specified in requirements.txt
RUN pip install -r requirements.txt

# Make port 5000 available to the world outside this container
EXPOSE 5000

# Define environment variable
ENV NAME World

# Run app.py when the container launches
CMD ["python", "app.py"]
This Dockerfile does the following:
Uses an official Python image as the base image.
Sets the working directory to
/app.Copies the contents of your current directory (including
app.pyandrequirements.txt) to the container.Installs the packages listed in
requirements.txt.Exposes port 5000 (the port your Flask app runs on).
Defines an environment variable (
ENV NAME World- This is just an example, you can customize it).Finally, it runs
app.pywhen the container starts.
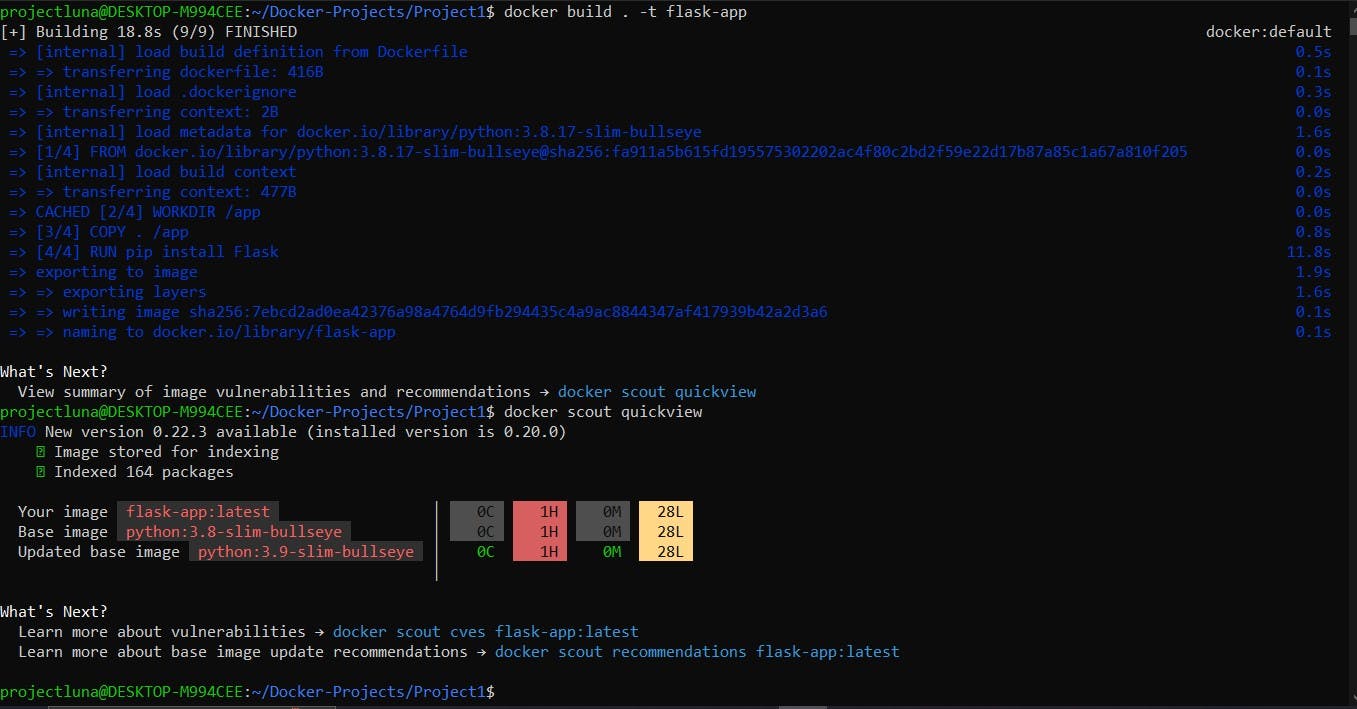
- To build your Docker image, navigate to the directory containing your Dockerfile and run:
docker build . -t my-flask-app
- To run your Flask app in a Docker container:
docker run -it -p 5000:5000 my-flask-app

Now your Flask app is running in a Docker container!
- Push to Docker Hub
To share your Docker image with others, you can push it to Docker Hub. Make sure you're logged in to Docker Hub, using docker login and then push the image:
docker push your-dockerhub-username/my-flask-app

Replace your-dockerhub-username with your Docker Hub username.

Conclusion
Congratulations! You've successfully Dockerized your Flask web application. You've taken a big step toward becoming a DevOps expert. Docker makes it easy to manage and deploy your applications consistently across different environments.
In this journey of DevOps, understanding Docker is crucial. It simplifies the deployment process, enhances scalability, and ensures that your application runs reliably no matter where it's hosted.
Stay tuned for more demystified DevOps concepts in the coming days!